
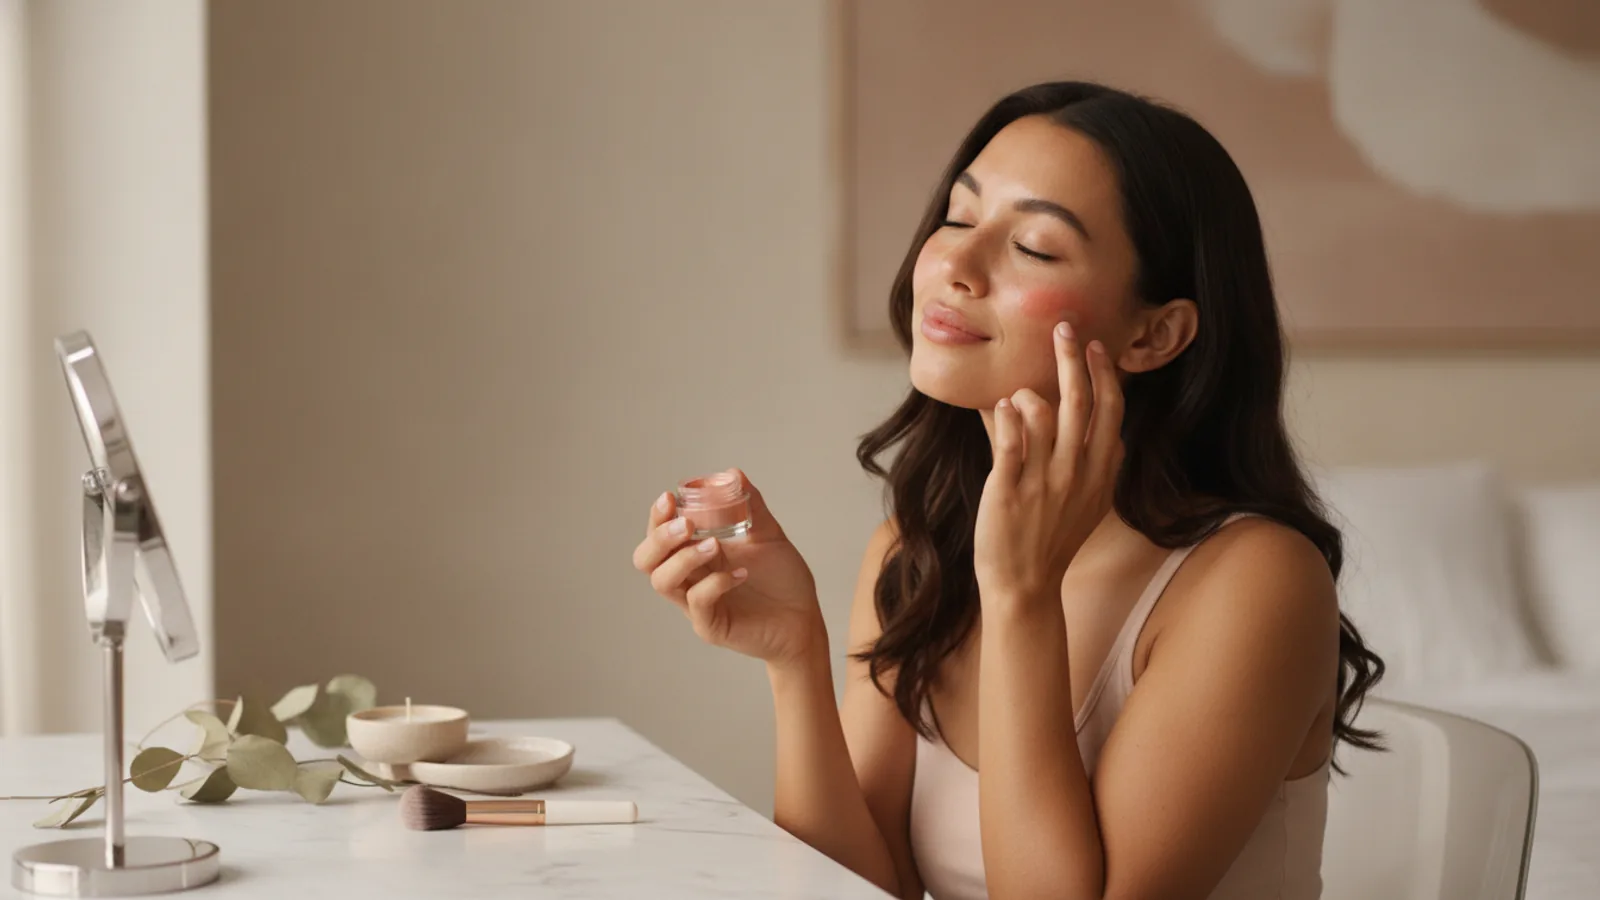
How To Apply Cream Blush
Cream blush can give your skin a fresh, healthy, and natural-looking glow that powder formulas sometimes can't match. Its dewy finish blends seamlessly into the skin for a radiant, lit-from-within look. This guide is for you if you're new to cream blush or want to perfect your technique for a flawless application every time. We'll walk through everything from prepping your skin to blending with different tools, ensuring your blush looks beautiful and lasts all day.
Fast Answer
- Prep your skin: Start with a clean, moisturized face. Apply after any liquid or cream foundation.
- Apply product: Warm a small amount on the back of your hand. Smile to find the apples of your cheeks.
- Dot and blend: Gently dot the blush onto your cheeks, then use your fingers, a brush, or a sponge to blend upwards and outwards.
- Build slowly: Add more thin layers only if you need more color.
Before You Start
Setting up your space and having the right tools makes the process feel calm and simple. Cream blush is very forgiving, but a little preparation helps create a smooth, even finish. You don't need much to get started, and you probably already have everything you need.
What You Need
- Your chosen cream blush (in a pot, stick, or tube)
- Clean fingers, a damp makeup sponge, or a dense stippling or buffing brush
- Your usual base makeup, like foundation or tinted moisturizer (optional)
- A mirror in a well-lit area, preferably with natural light
- Optional: Translucent setting powder or a setting spray for longer wear
Safety, Timing, or Context Checks
Before you begin, a few quick checks can prevent common frustrations. The goal is to work with your skin and other products, not against them.
- Check Your Base: Cream blush works best on bare, moisturized skin or over liquid and cream-based products like foundation or tinted moisturizer. Applying a cream product over a heavy powder base can cause pilling or patchiness. If you use powder foundation, this technique might not be the best fit.
- Skin Prep is Key: For the smoothest application, ensure your skin is well-hydrated. Apply your regular moisturizer and let it absorb for a few minutes before you start. Dry patches can grab onto the pigment and look uneven.
- Product Test: If you are using a new cream blush for the first time, especially if you have sensitive skin, it's always wise to patch-test it on a small area of your inner arm to check for any reaction.
Step-by-Step Instructions
Follow these steps for a simple, beautiful cream blush application. We'll cover three popular blending methods so you can find the one that feels best for you.
Prepare Your Skin and Base
Start with a clean face. Go through your normal skincare routine, finishing with a moisturizer and sunscreen. Allow these products to sink into your skin for at least five minutes. This creates a hydrated, smooth canvas for your makeup to glide over.
If you wear foundation or tinted moisturizer, apply it now. Cream blush should be applied after any liquid or cream face products but before any powders (like setting powder or powder bronzer). This cream-to-cream layering helps everything meld together seamlessly.
Warm Up the Product
Cream formulas perform best when they are slightly warmed. If your blush is in a pot, swirl your clean finger in it gently. If it's a stick, you can dab it directly onto the back of your hand. For a tube, squeeze out a tiny amount.
Using the back of your hand as a palette is a great professional trick. It warms the product with your body heat, making it more pliable and easier to blend. It also gives you full control over how much you pick up for application, preventing you from applying too much directly to your face.
Find Your Ideal Placement
Where you place your blush can change the shape of your face. The most classic placement is on the "apples" of your cheeks. To find them, smile gently in the mirror—the round, full part that pops up is the apple.
For a more lifted look, you can apply the blush slightly higher, along the tops of your cheekbones and sweeping upward toward your temples. This technique draws the eye upward and can create a more sculpted appearance. Avoid applying blush too close to your nose or too low on your face, as this can drag your features down.
Apply a Few Small Dots
Using your finger, a brush, or the blush stick itself, place two or three small dots of color onto your target area. For the apples of your cheeks, place the dots in the center. For a lifted look, place them along the cheekbone.
Remember the golden rule: start small. These tiny dots are all you need for your initial layer. It will look like very little product, but cream blushes are often highly pigmented. This controlled approach is the secret to a natural, believable flush.
Blend, Blend, Blend
This is where the magic happens. The goal is to diffuse the dots of color into a soft, seamless wash with no harsh edges. Use your preferred tool and a gentle touch.
- With Fingers: Use your ring or middle finger to gently tap and press the product into your skin. Use a light, stippling motion rather than rubbing or wiping. Rubbing can move your foundation underneath and lead to streaks. The warmth from your fingertips will help the blush melt beautifully into your skin for the most natural finish.
- With a Sponge: A damp makeup sponge (like a Beautyblender) works wonderfully. Use the rounded bottom of the sponge to bounce and press the color into your skin. This stippling motion will blend the color flawlessly while sheering it out for a soft, airbrushed effect.
- With a Brush: Choose a synthetic brush, as natural bristles can absorb too much of the cream product. A duo-fiber stippling brush or a small, dense buffing brush is ideal. Use light, circular buffing motions or gentle tapping motions to spread the color.
No matter which tool you use, blend the blush upwards and outwards toward your hairline. Make sure there are no obvious start or end points.
Assess and Build Color
Step back from the mirror and look at your cheeks in natural light if possible. Does the color look even? Is it as vibrant as you'd like?
Because you started with a small amount, you can now easily add another layer if you want more intensity. Simply repeat the process: add another dot or two of blush and blend it out. Applying thin layers gives you much more control than trying to correct one heavy, overly bright application.
Set Your Blush (Optional)
If you have oily skin or need your makeup to last all day, setting your cream blush is a good idea. There are two ways to do this.
First, you can use a light dusting of translucent setting powder. Use a large, fluffy brush and apply the smallest amount of powder over the blush area, just enough to take away the tackiness without dulling the glow. Second, you can use a setting spray. Hold the bottle about eight inches from your face and mist it lightly. This will lock in your makeup while preserving the dewy finish of the cream blush.
Quick Reference
Not sure which application tool or placement is right for you? This cheat sheet can help you decide based on the look you want to achieve.
| Situation | Use this Tool or Technique | Why It Works |
|---|---|---|
| You want a quick, natural, "no-makeup" look. | Your fingers | The warmth from your skin melts the product for a seamless, second-skin finish that is fast and easy. |
| You have dry or textured skin. | A damp makeup sponge | It presses the product into the skin without causing friction or highlighting dry patches, giving an airbrushed effect. |
| You want a more intense or precise application. | A dense synthetic brush | A brush can pick up and deposit more pigment than a sponge and gives you precise control over placement. |
| You want to create a lifted, sculpted effect. | High cheekbone placement | Applying blush on the high points of the cheekbones and blending toward the temples draws the eye upward. |
| Your blush fades quickly. | Setting with powder or spray | A light layer of translucent powder or a mist of setting spray locks the cream product in place for longer wear. |
Common Problems When You Apply Cream Blush
Even with a simple product, you might run into a few challenges. Here are some common issues and how to gently fix them.
- The Problem: It looks patchy or streaky.
This often happens when cream blush is applied over dry skin or a powdered base. Ensure your skin is well-moisturized before you begin. When blending, always use a tapping or stippling motion, not a wiping one. If you still see a patch, take a clean part of your sponge or your finger and gently press over the area to smooth it out. - The Problem: The color is way too bright.
If you've accidentally applied too much, don't panic and don't wipe it off. Take your foundation brush or sponge with a tiny bit of leftover foundation on it (don't add more) and gently stipple over the blush. This will tone down the intensity and blend it back into your base seamlessly. - The Problem: It disappears by the end of the day.
Cream products naturally fade faster than powders, especially on oily skin. To increase longevity, try applying a makeup primer before your base. You can also try "sandwiching" your blush: apply the cream blush, set it with a very light dusting of translucent powder, and then apply a light layer of a matching powder blush on top. Finally, a good setting spray is your best friend for all-day wear. - The Problem: It’s lifting my foundation.
This is almost always caused by a rubbing or wiping motion during application. Cream products should be pressed or tapped into the skin. If you're using a brush, use light stippling or buffing motions instead of dragging it across your cheek. Let your liquid foundation set for a minute before applying blush on top can also help prevent it from moving.
Advanced Tips for Applying Cream Blush
Once you've mastered the basics, you can have fun with these creative techniques to get even more out of your cream blush.
- Create a Monochromatic Look: Cream blush is wonderfully versatile. After applying it to your cheeks, tap a small amount onto the center of your eyelids for a soft wash of color and press the remaining product onto your lips for a coordinating tint. This creates a harmonious, polished look in seconds.
- Try "Underpainting": A technique loved by makeup artists, underpainting involves applying your cream blush *before* your foundation. Apply the blush more vibrantly than you normally would, then apply a very light, sheer layer of your foundation over top. The result is a truly believable "glow-from-within" flush of color that looks like it's part of your skin.
- Mix Your Own Custom Shade: Don't be afraid to be an artist. Use the back of your hand as a palette to mix two or more cream blush shades together. You could mix a pink and a peach for a perfect coral, or add a touch of a cream bronzer to your blush for a warmer, more sun-kissed tone.
- Blush Draping: For a more dramatic, high-fashion look, try draping. This involves applying your blush in a "C" shape, starting from the apple of your cheek and sweeping it up along your cheekbone to your temple and just above the tail of your eyebrow. Use a light hand for a soft, modern take on this '80s trend.
How To Apply Cream Blush FAQ
Can I apply cream blush over powder?
What is the best tool for applying cream blush?
How do I choose the right cream blush color?
How is cream blush different from powder blush?
Final Checklist for Applying Cream Blush
Before you head out, run through this quick final checklist to ensure your blush looks perfect.
- Your skin was cleansed and moisturized before application.
- Cream blush was applied after liquids but before any powders.
- You started with a very small amount of product on the back of your hand.
- Blush is placed on the apples of the cheeks or higher on the cheekbones.
- You used a gentle tapping or stippling motion to blend.
- The edges are soft and diffused with no harsh lines.
- The color intensity is balanced and even on both sides.
- You've checked your look in natural light to see the true color.