
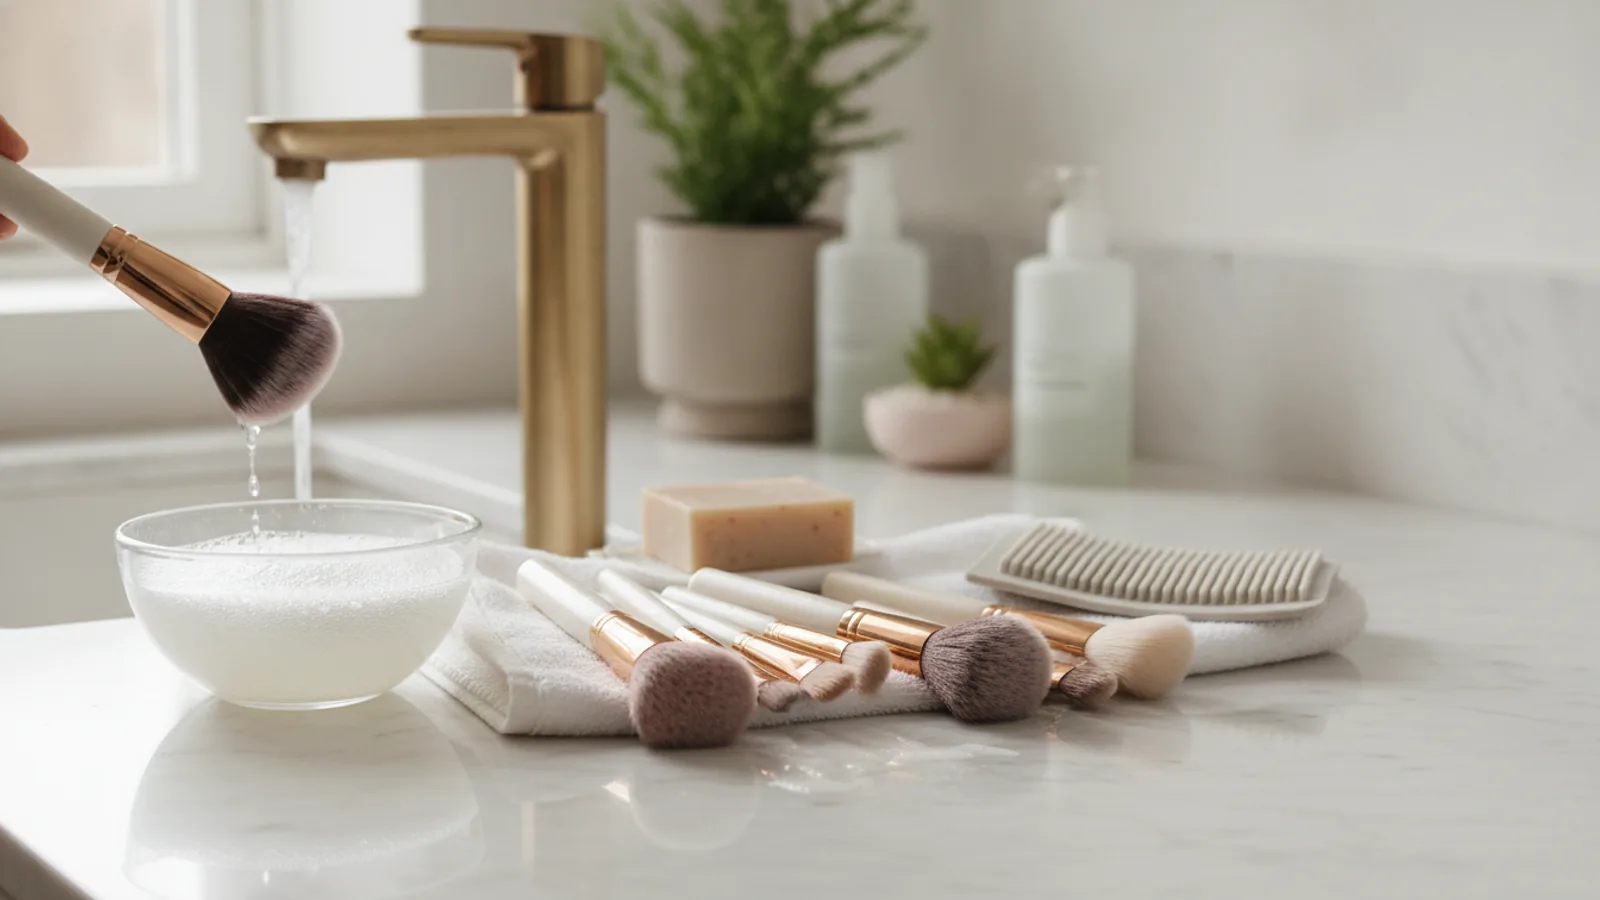
How To Clean Makeup Brushes
Learning how to clean makeup brushes is a simple act of self-care that protects your skin, improves your makeup application, and helps your favorite tools last longer. This guide will walk you through a gentle, effective method to wash, reshape, and dry your brushes correctly, preventing damage and ensuring they stay soft and hygienic. Whether you're dealing with stubborn foundation stains or just doing a weekly refresh, these steps make the process calm and straightforward.
Fast Answer
- Cleansing Agent: A gentle soap (like baby shampoo) or a dedicated brush cleanser.
- Water Temp: Lukewarm, never hot.
- Drying Position: Bristles down or lying flat with bristles over an edge.
- Frequency: Weekly for liquid/cream product brushes, every 2-4 weeks for powder brushes.
Before You Start
Gathering your supplies beforehand turns this chore into a smooth, almost meditative routine. Having everything within reach means you can focus on gently caring for your tools without interruption.
What You Need
- Your dirty makeup brushes: Gather all the brushes you plan to wash.
- Gentle Cleanser: A mild, gentle soap is perfect. Unscented baby shampoo or castile soap are excellent choices. You can also use a cleanser made specifically for makeup brushes.
- Small Bowl: For mixing your cleansing solution, though you can also work directly in your palm.
- Sink with running water: You'll need access to lukewarm water for rinsing.
- Silicone Cleansing Mat (Optional): A small, textured mat can help create a better lather and deep clean bristles without rough scrubbing. The palm of your hand works just as well.
- Clean, Absorbent Towel: A lint-free towel is best for blotting excess water and for laying brushes to dry.
Safety, Timing, or Context Checks
A few simple checks will ensure you clean your brushes safely, preserving their quality for years to come.
- Know Your Bristles: Brushes come with either natural or synthetic bristles. Natural bristles (like goat or sable hair) are more porous and delicate, similar to human hair. They require a very gentle touch and benefit from less frequent, milder washing. Synthetic bristles (like nylon or taklon) are more durable and can handle more frequent and rigorous cleaning, which is good since they are often used for liquid and cream products.
- Check the Ferrule: The ferrule is the metal band that connects the bristles to the handle. Before you start, gently wiggle it to ensure it's not already loose. During cleaning, your main goal is to keep water from getting inside the ferrule, as it can dissolve the glue and cause the brush head to fall off over time.
- Avoid Harsh Chemicals: Never use harsh detergents like standard dish soap, bar soap, or household cleaners. These can contain strong degreasers and chemicals that strip the natural oils from animal-hair bristles, making them dry and brittle. They can also damage the glue inside the ferrule.
Step-by-Step Instructions
Follow these steps for a thorough and gentle cleaning that will leave your brushes feeling soft, clean, and ready for flawless application.
Wet the Bristles
Begin by holding the brush with the bristles pointing down toward the sink drain. Turn on the faucet to a stream of lukewarm water. Gently run just the tips of the bristles under the water. Avoid fully submerging the entire brush head. You only want to wet the hairs themselves, not the base where they connect to the ferrule. Do this for a few seconds until the bristles are saturated.
Apply the Cleanser
Place a small, pea-sized amount of your chosen cleanser (baby shampoo or brush cleanser) into the palm of your clean hand or onto your silicone cleansing mat. You don't need much; a little soap goes a long way. If cleaning many brushes, you can add more as needed, but starting small prevents waste and reduces rinse time.
Gently Swirl and Lather
Take your wet brush and gently swirl the bristles into the cleanser in your palm or on the mat. Use soft, circular motions. You will quickly see the makeup residue, oils, and pigment begin to lift from the bristles and mix with the soap, creating a colored lather. Continue this gentle swirling motion for about 20-30 seconds, making sure the cleanser works its way through all the bristles, right to the center of the brush head.
Rinse Until the Water Runs Clear
Once you've worked up a good lather, it's time to rinse. Keeping the brush bristles pointing down, place it back under the stream of lukewarm running water. As the water flows through the bristles, gently squeeze them from the base to the tip to help push out the soap and makeup residue. Continue rinsing and squeezing until the water running from the brush is completely clear. This is the sign that all the soap and grime are gone.
Remove Excess Water
Turn off the water. With the brush still pointing down, gently squeeze the bristles one last time with your fingers to remove as much water as possible. Then, take your clean, lint-free towel and carefully blot the bristles, pressing them lightly against the fabric. You can also gently swipe the brush back and forth on the towel. Do not rub or tug on the bristles, as they are fragile when wet.
Reshape the Brush Head
This step is crucial for maintaining the performance and shape of your brush. Use your clean fingers to gently pinch and smooth the bristles back into their original form. For a fluffy powder brush, fluff it out slightly. For a flat foundation brush, flatten it. For a tapered crease brush, pinch it into a point. A well-shaped brush will dry perfectly and apply makeup just as it was designed to.
Lay Brushes to Dry Correctly
The final and most important step is proper drying. Never stand your brushes upright in a cup to dry. This allows water to drain down into the ferrule and handle. Instead, lay the brushes flat on your clean towel, positioning them so the brush heads hang just over the edge of a counter or table. This allows for full air circulation around the bristles, promoting faster, more even drying and protecting the handle. Alternatively, you can use a brush drying rack, which hangs them upside down. Allow them to air dry completely, which can take anywhere from 6 to 12 hours, depending on the brush density and humidity.
Quick Reference
| Situation | Use this | Why |
|---|---|---|
| Cleaning Liquid Foundation Brushes | Double cleanse: an oil first, then soap. | Oil effectively breaks down stubborn, oil-based foundation and concealer, allowing the soap to fully clean the bristles. |
| Cleaning Powder Brushes | Gentle baby shampoo or castile soap. | Powders are easier to remove, so a simple, mild soap is sufficient and won't strip the bristles. |
| Natural Hair Brushes (e.g., goat, squirrel) | A drop of hair conditioner after washing. | Natural hairs can become dry. A tiny bit of conditioner, rinsed out thoroughly, keeps them soft and supple. |
| Spot Cleaning Between Washes | A no-rinse spray brush cleaner. | It quickly dissolves surface-level pigment on a paper towel, sanitizing the brush for immediate reuse without a full wash. |
Common Problems When You Clean Makeup Brushes
Even with a careful process, you might run into a few issues. Here’s how to troubleshoot the most common ones.
My brushes feel stiff or sticky after drying.
This is almost always caused by leftover soap residue. If you didn't rinse the brush thoroughly enough, the remaining cleanser can dry on the bristles, leaving them stiff. The fix is simple: just re-rinse the brush under lukewarm water, gently squeezing the bristles until you're certain all the soap is gone. Then, reshape and dry it again.
The bristles are frayed and won't go back into shape.
Fraying or splayed bristles usually happen for two reasons: you scrubbed too aggressively during the washing phase, or you didn't reshape the brush head before drying. Wet bristles are vulnerable, so a gentle touch is key. If the damage is done, you can try re-wetting the brush, applying a tiny amount of leave-in conditioner, carefully reshaping it, and letting it dry again. This can sometimes help coax them back into place.
The handle feels loose or the wood is cracking near the metal part.
This is a classic sign that water has seeped into the ferrule and handle. Water dissolves the glue holding the bristles and handle together and can cause a wooden handle to swell and crack. Unfortunately, this damage is often permanent. The only solution is prevention. Always keep water out of the ferrule by washing and rinsing with bristles pointed down.
My brushes are taking more than a day to dry.
If your brushes, especially dense ones like kabuki or foundation brushes, are taking too long to dry, it's likely due to excess water or poor air circulation. Make sure you gently squeeze out as much water as possible with a towel after rinsing. Also, ensure they are drying in a well-ventilated room—a humid, steamy bathroom is not an ideal spot. Laying them with the bristles over a counter's edge is the best way to ensure air can circulate all around the brush head.
Advanced Tips for Cleaning Makeup Brushes
Once you've mastered the basics, these advanced techniques can help you get an even deeper clean and extend the life of your most cherished tools.
- Double Cleanse for Heavy Makeup: For brushes used with long-wear foundation, waterproof products, or thick creams, a single wash might not be enough. Try a double-cleansing method. First, work a small amount of a lightweight oil (like jojoba or even olive oil) through the dry bristles to break down the product. Then, wash with your regular gentle soap to remove the oil and any remaining residue.
- Condition Your Natural Brushes: Just like human hair, natural animal-hair bristles can benefit from occasional conditioning. Once a month, after shampooing, work a tiny drop of your regular hair conditioner through the bristles. Let it sit for a minute, then rinse extremely well. This keeps them from becoming brittle and helps them stay luxuriously soft.
- Invest in a Drying Rack: If you wash your brushes often, a dedicated brush drying rack can be a game-changer. These stands have silicone grips that hold your brushes upside down, which is the absolute ideal position for drying. It guarantees no water will ever run into the ferrule and helps the bristles dry in their perfect, natural shape.
- Sanitize for Extra Protection: If you are concerned about bacteria, especially after being sick or if you share brushes (which is generally not recommended), you can add a sanitizing step. After the brush is clean and has been blotted with a towel, you can lightly mist the bristles with a spray containing 70% isopropyl alcohol. Do not soak them. Let the alcohol evaporate completely before the final drying step. Use this sparingly on natural brushes, as alcohol can be very drying.
How To Clean Makeup Brushes FAQ
How often should I clean my makeup brushes?
Can I use dish soap to clean my makeup brushes?
Is it okay to use a hair dryer to dry my brushes faster?
What's the difference between cleaning brushes and makeup sponges?
Final Checklist for Cleaning Makeup Brushes
Use this quick checklist to ensure a perfect wash every time. A consistent routine is the best way to care for your skin and your tools.
- Gather all your supplies before starting.
- Use lukewarm water, not hot.
- Point bristles downward at all times when under water.
- Swirl gently on your palm or a mat; never scrub harshly.
- Rinse until the water runs 100% clear with no suds.
- Gently squeeze out excess water with your fingers and a towel.
- Carefully reshape the bristles to their original form.
- Dry brushes flat with bristles hanging over an edge or hung upside down.
- Wait until brushes are completely dry to the touch before using them.