
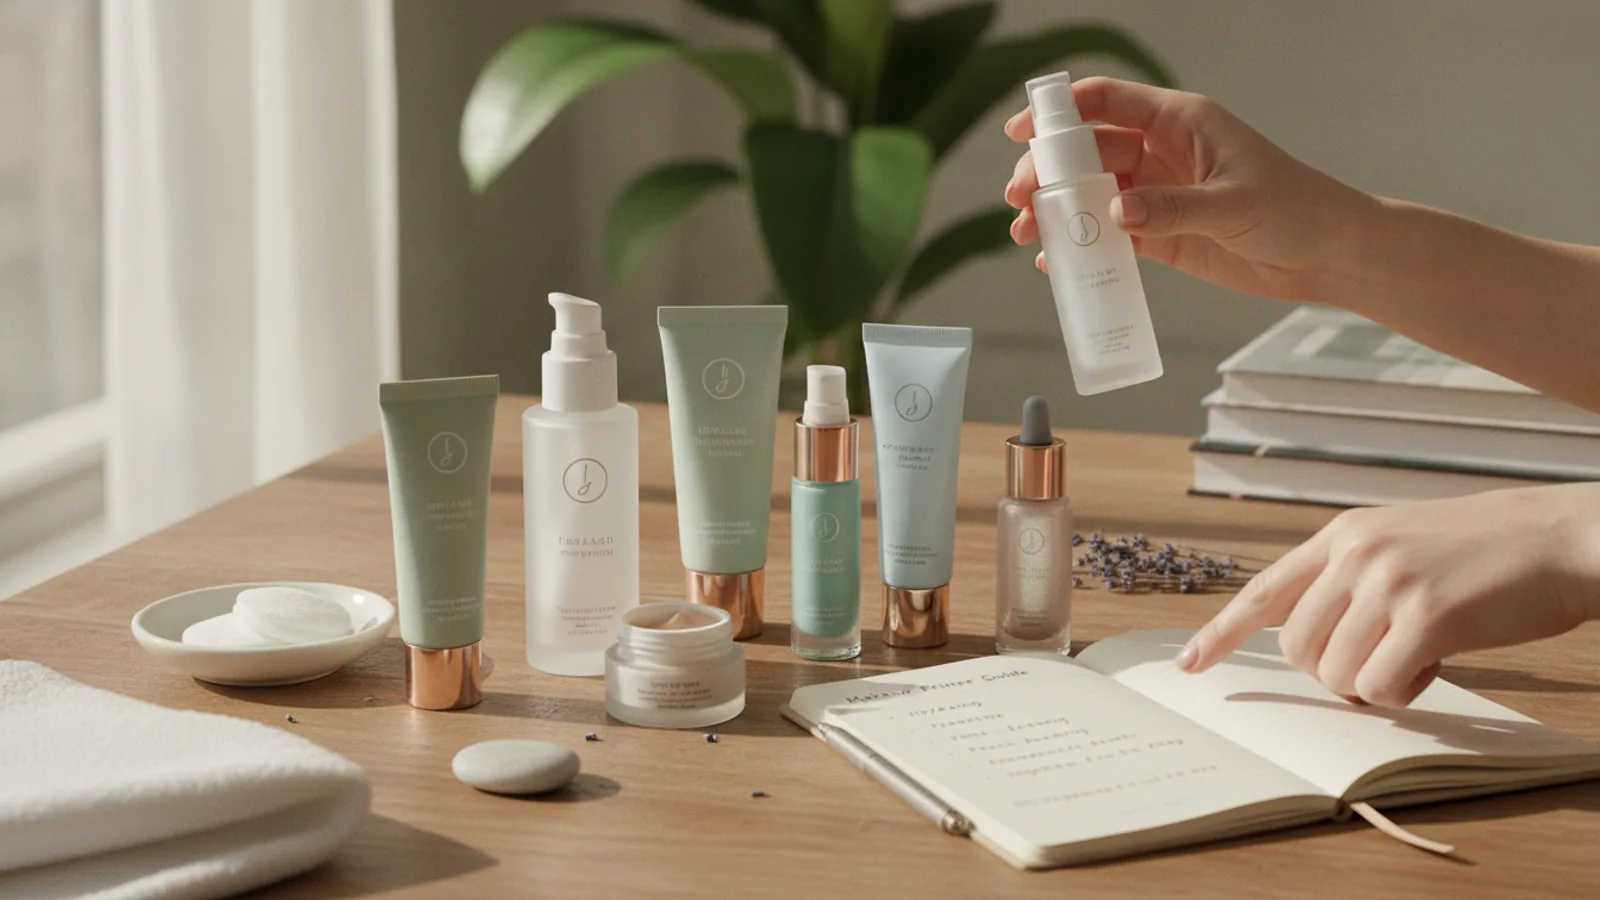
Makeup Primer Guide
Welcome to our simple guide on using makeup primer. Think of primer as the essential first step that creates a smooth, even canvas for your foundation, concealer, and other makeup. It helps your look last longer, can address skin concerns like oiliness or dryness, and makes application feel more seamless. This guide will walk you through every step, from choosing the right primer for your skin to applying it for a flawless, long-lasting finish.
Fast Answer
- Core Action: Apply a pea-sized amount of primer to clean, moisturized skin.
- Key Timing: Wait 1-2 minutes for the primer to set before applying foundation.
- Main Goal: Create a smooth base to extend makeup wear and improve its appearance.
Before You Start
Gathering a few simple items and understanding your skin's needs are the keys to a perfect primer application. The goal is to prepare your skin so the primer can do its job effectively.
What You Need
- Gentle Facial Cleanser: To start with a clean surface, free of dirt and excess oil.
- Moisturizer: A good moisturizer suited to your skin type is essential for hydration.
- Makeup Primer: The primer you've chosen for your specific skin type and desired finish.
- Clean Hands or a Makeup Brush/Sponge: For a hygienic and even application.
Safety, Timing, and Context Checks
Before applying any new product to your entire face, it's wise to perform a quick check to ensure it agrees with your skin and your other products.
- Ingredient Compatibility: Check if your primer and foundation are compatible. A common rule is to pair water-based primers with water-based foundations and silicone-based primers with silicone-based foundations. Mixing them can cause pilling or separation. Look for ingredients ending in "-cone" or "-siloxane" high on the list for silicone products.
- Skin Sensitivity: Your skin is unique. What works for others might not be right for you. Pay attention to how your skin feels.
Step-by-Step Instructions
Follow these simple steps for a smooth, even primer application that will help your makeup look its best all day long.
Step 1: Start with a Clean Canvas
The first and most important step in any skincare or makeup routine is cleansing. Using a gentle facial cleanser, wash your face to remove any dirt, oil, and impurities from the skin's surface. This ensures that you aren't trapping any grime under your primer and makeup. Pat your skin dry with a clean, soft towel. Avoid rubbing, as this can cause unnecessary irritation.
Step 2: Hydrate Your Skin
Next, apply your favorite moisturizer. Even if you have oily skin or are using a mattifying primer, moisturizer is a non-negotiable step. It hydrates and plumps the skin, creating a supple surface for the primer. If your skin is dehydrated, it may overproduce oil to compensate, which can interfere with your makeup. Apply an even layer of moisturizer and, crucially, wait at least 2-3 minutes for it to fully absorb into your skin. Rushing this step is a primary cause of pilling.
Step 3: Dispense a Small Amount
When it comes to primer, less is truly more. Squeeze or pump a small amount of primer onto the back of your hand. A pea-sized amount is usually enough for the entire face. Using too much primer can feel heavy, prevent your foundation from adhering properly, and may even cause your makeup to slide around or break down faster. You can always add a tiny bit more to specific areas if needed, but it's always best to start small.
Step 4: Apply the Primer Gently
Using your fingertips is often the best method for applying primer. The warmth from your fingers helps the product melt into the skin for a seamless finish. Start at the center of your face—your nose, cheeks, and forehead—and gently blend the primer outwards towards your hairline and jaw. Use light, sweeping motions. For pore-filling or silicone-based primers, you might find a gentle patting or tapping motion works best to press the product into the skin and fill in texture.
Step 5: Focus on Problem Areas
While a thin layer across your entire face is good, you can strategically apply a little extra primer to areas that need more attention. If you have an oily T-zone (forehead, nose, and chin), you can focus a mattifying primer there. If you have visible pores on your cheeks or fine lines around your eyes, you can gently tap a bit more of a smoothing primer into those specific spots. This targeted approach helps you get the most benefit from your product without overloading your skin.
Step 6: Let the Primer Set Completely
This is a critical step that is often overlooked. After you’ve applied your primer, wait at least 60 seconds, or until the primer feels dry and no longer tacky to the touch. This waiting period allows the primer to form a smooth, even film over your skin, creating the perfect barrier between your skincare and your makeup. Applying foundation too soon can cause the products to mix, leading to a patchy application and pilling.
Step 7: Proceed with Your Makeup
Once your primer has fully set, your skin is ready for makeup. You can now apply your foundation, concealer, and other products as you normally would. You should notice that your foundation glides on more easily, blends more smoothly, and looks more refined. The barrier created by the primer will also help prevent your skin's natural oils from breaking down your foundation throughout the day, leading to a much longer wear time.
Quick Reference: Choosing a Primer
Matching your primer to your skin's needs is the secret to getting the best results. Here’s a simple cheat sheet.
| Situation | Use this Primer Type | Why |
|---|---|---|
| Oily Skin / Large Pores | Mattifying or Pore-Filling | These primers often contain silicones or powders that control shine, absorb excess oil, and create a smooth, blurred effect over pores. |
| Dry or Dehydrated Skin | Hydrating or Illuminating | These are typically formulated with ingredients like hyaluronic acid or glycerin to add a boost of moisture and give the skin a healthy, dewy glow. |
| Uneven Skin Tone or Redness | Color-Correcting | Green-tinted primers neutralize redness, lavender primers brighten sallow tones, and peach or yellow primers can help with dark spots or dullness. |
| Fine Lines or Textured Skin | Smoothing or Blurring | These primers have a silky, often silicone-based texture that glides over the skin, filling in fine lines and creating an exceptionally smooth canvas. |
Common Problems When You Use Makeup Primer
Even with the right technique, you might run into a few issues. Here’s how to troubleshoot some common primer problems for a stress-free routine.
Your Makeup is Pilling or Balling Up
This is the most frequent issue people face. "Pilling" happens when products on your skin clump into tiny balls as you try to blend them.
- The Fix: The culprit is almost always not waiting long enough between steps. Ensure your moisturizer is fully absorbed before applying primer, and your primer is fully set before applying foundation. Also, check your product ingredients—a water-based foundation on top of a heavy silicone primer is a common cause of separation and pilling. Finally, using too much product (either moisturizer or primer) can also lead to this issue.
Your Foundation Looks Cakey or Patchy
If your makeup looks heavy or clings to certain spots, your primer application might be the reason.
- The Fix: You might be using too much primer. A thick layer can prevent foundation from setting correctly. Go back to a pea-sized amount. Also, ensure you are using the right type of primer for your skin. A heavy, mattifying primer on very dry skin can accentuate dry patches, causing foundation to look cakey.
Your Primer Seems to Cause Breakouts
If you notice new blemishes after introducing a primer, it's important to investigate.
- The Fix: Look for primers labeled "non-comedogenic," which means they are formulated not to clog pores. Silicone-based primers can sometimes trap oil and bacteria for those with acne-prone skin. Thoroughly cleansing your face at the end of the day is also crucial to remove all layers of makeup and primer. If breakouts persist, you may need to switch to a different formula or stop using that particular product.
Your Makeup Doesn't Seem to Last Any Longer
If your primer isn't living up to its long-wear promise, a few factors could be at play.
- The Fix: Make sure you're applying primer to the areas where your makeup fades fastest, typically the T-zone. Also, consider your application technique. Patting primer into the skin can be more effective than rubbing for long-wear results. Lastly, the combination of your specific skin chemistry and the product formula might just not be a good match. It can sometimes take trying a few different primers to find the one that works best for you.
Advanced Tips for Your Makeup Primer Guide
Once you've mastered the basics, you can try these techniques to further customize your routine and get even more out of your primer.
Try "Multi-Priming"
Just as you might use different concealers for different areas, you can use different primers. Apply a mattifying primer to your T-zone to control oil and a hydrating or illuminating primer to your cheeks for a healthy glow. This customized approach addresses all of your skin’s needs at once.
Mix a Drop of Primer with Your Foundation
For a sheerer, more natural finish, try mixing a tiny drop of your primer directly into your foundation on the back of your hand. This can help thin out a full-coverage foundation for everyday wear or add a luminous quality if you use a glowing primer. This works best when both products have a similar base (water or silicone).
Use Primer on Your Eyelids and Lips
A small amount of primer isn't just for your face. Dabbing a tiny bit of a smoothing primer on your eyelids can create an excellent base for eyeshadow, preventing creasing and making colors appear more vibrant. You can also apply a thin layer over your lips before lipstick to prevent feathering and help the color last longer.
Wear Primer on "No-Makeup" Days
On days when you don't want to wear a full face of foundation, a good primer can still be your best friend. A blurring or pore-filling primer can help even out skin texture and give you a soft-focus finish on its own. A color-correcting primer can subtly neutralize redness, while an illuminating primer can give you a natural-looking glow without any shimmer or coverage.
Makeup Primer Guide FAQ
Here are answers to some of the most frequently asked questions about makeup primer.
Do I really need a primer every day?
No, you don't have to use a primer every day. It's a tool to use when you want it. Primer is most beneficial on days when you want your makeup to last a long time (like for a special event), when you want to achieve a specific finish (like extra matte or extra dewy), or when you're dealing with skin concerns like visible pores or excess oil. For a quick, casual day, you may find that your moisturizer and foundation are enough.
Can I use primer without foundation?
Absolutely! As mentioned in the advanced tips, primers can be worn alone to give your skin a subtle improvement. A mattifying primer can control shine, a blurring primer can soften the look of pores, and an illuminating primer can give a healthy radiance, all without the need for foundation on top.
What is the difference between moisturizer and primer?
A moisturizer's primary job is to hydrate and nourish the skin by delivering water and beneficial ingredients deep into the skin's layers. A primer's job is to sit on top of the skin to create a smooth surface and a barrier between your skin and your makeup. While some primers have hydrating ingredients, they are not a replacement for a dedicated moisturizer.
How do I know if my primer and foundation are compatible?
The easiest way is to check the ingredient list. Products are generally either water-based or silicone-based.
- If the first ingredient is water ("Aqua") and you don't see words ending in "-cone," "-methicone," or "-siloxane" near the top of the list, it's likely water-based.
- If you see ingredients like "dimethicone," "cyclopentasiloxane," or "trimethicone" high up on the list (often after water), it's silicone-based.
Pairing silicone with silicone and water with water generally prevents the products from repelling each other and causing pilling or separation.
Final Checklist for Using Makeup Primer
Before you apply your makeup, run through this quick mental checklist to ensure you get the best possible results from your primer.
- Is my face freshly cleansed and gently dried?
- Have I applied my moisturizer and given it a few minutes to sink in completely?
- Have I checked that my primer and foundation are compatible (e.g., silicone with silicone)?
- Am I starting with just a small, pea-sized amount of primer?
- Did I apply the primer gently, focusing on areas that need it most?
- Have I waited at least 60 seconds for the primer to set before reaching for my foundation?
By following these gentle steps and keeping these tips in mind, you can make makeup primer a reliable and effective part of your routine, helping you feel calm and confident in your look all day long.